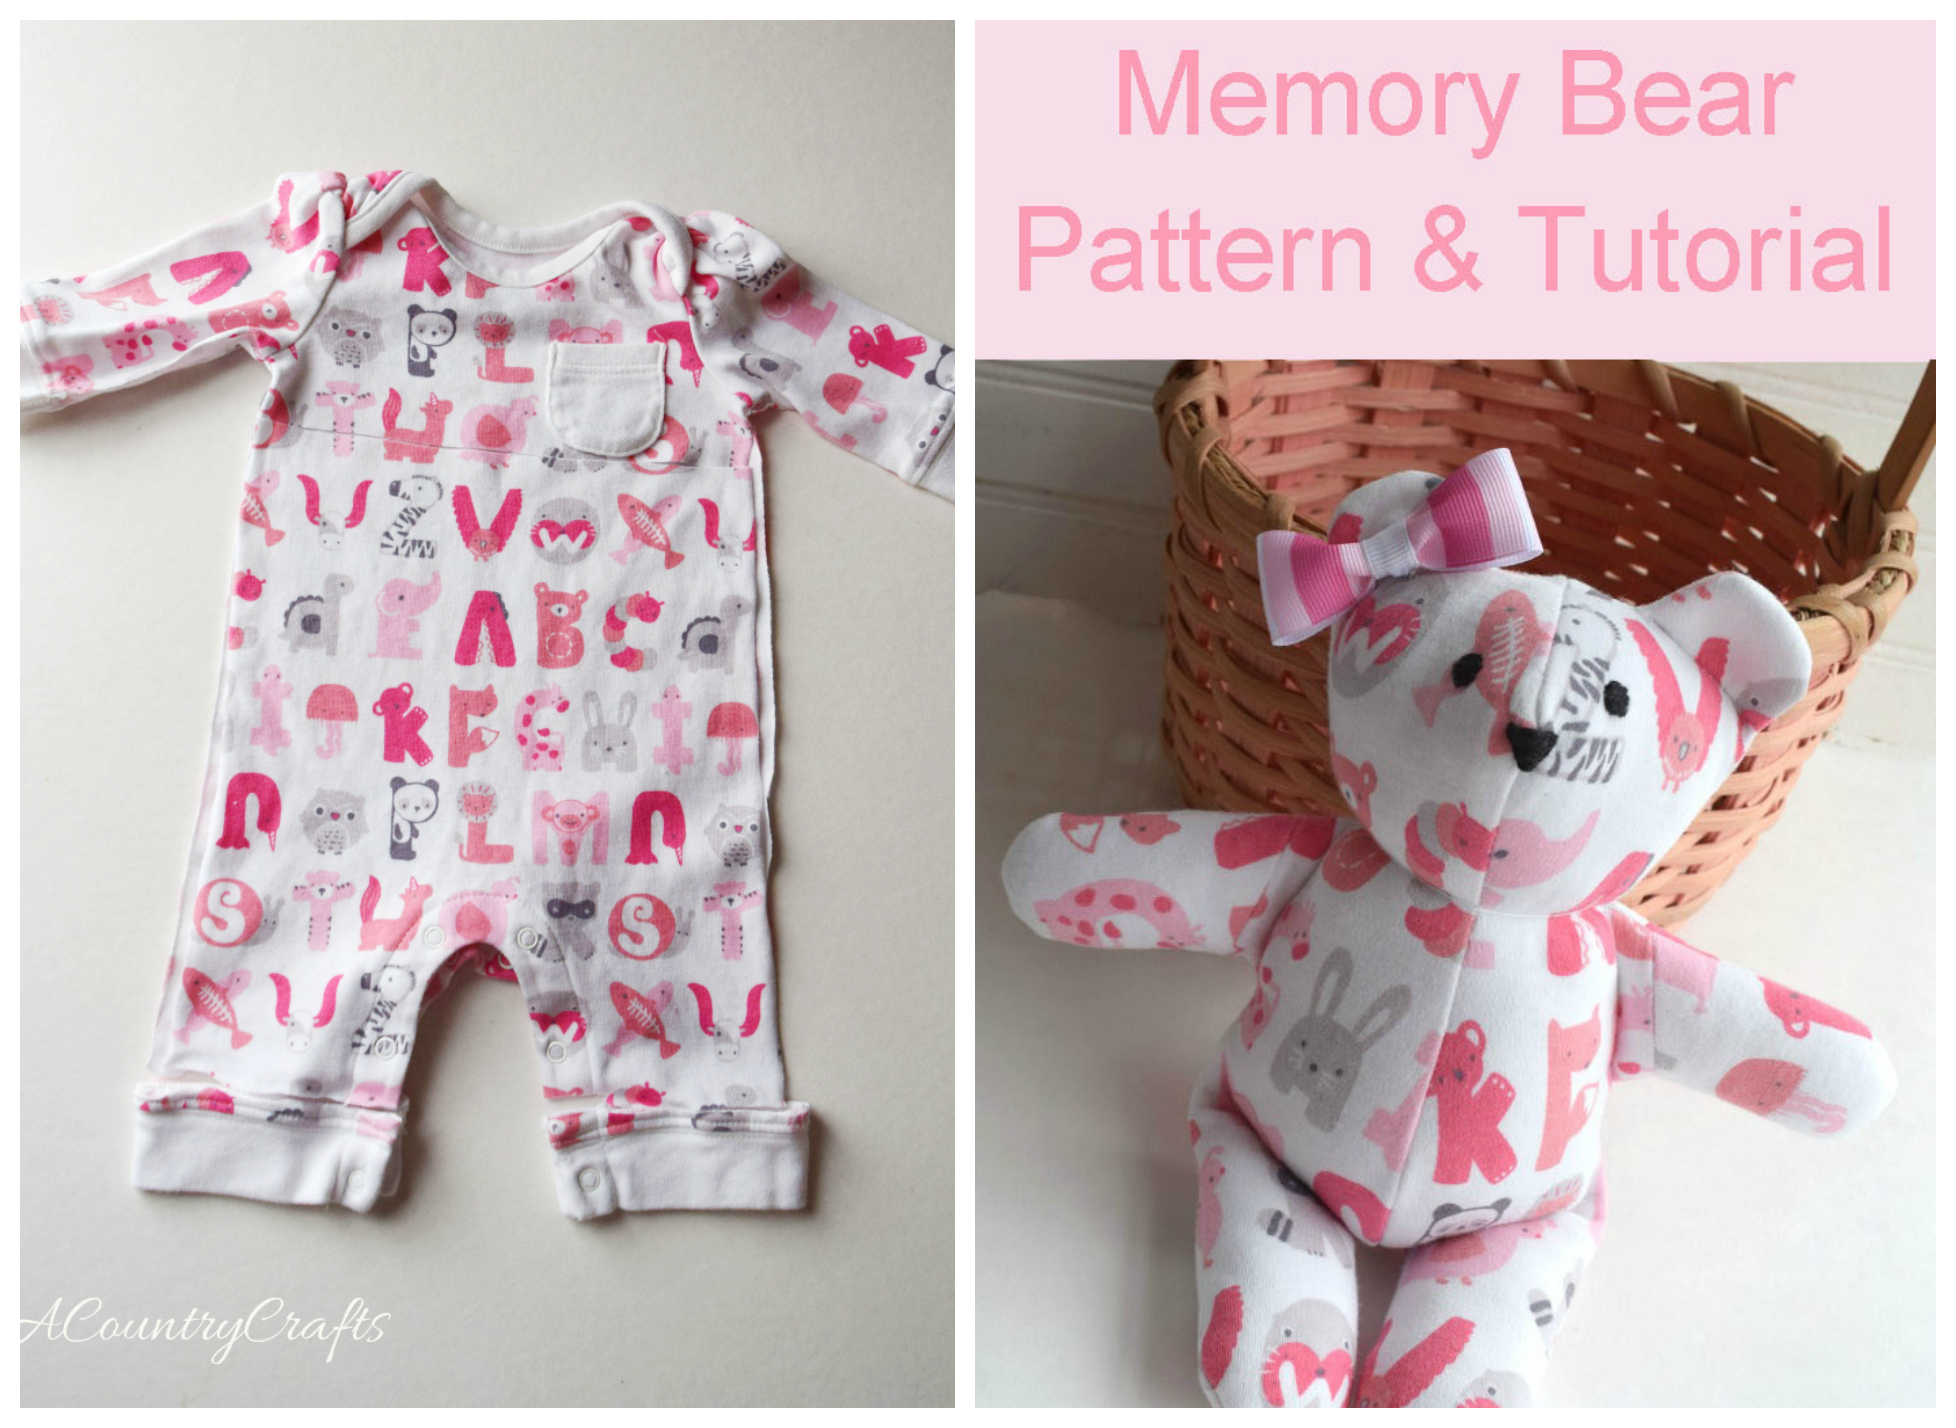
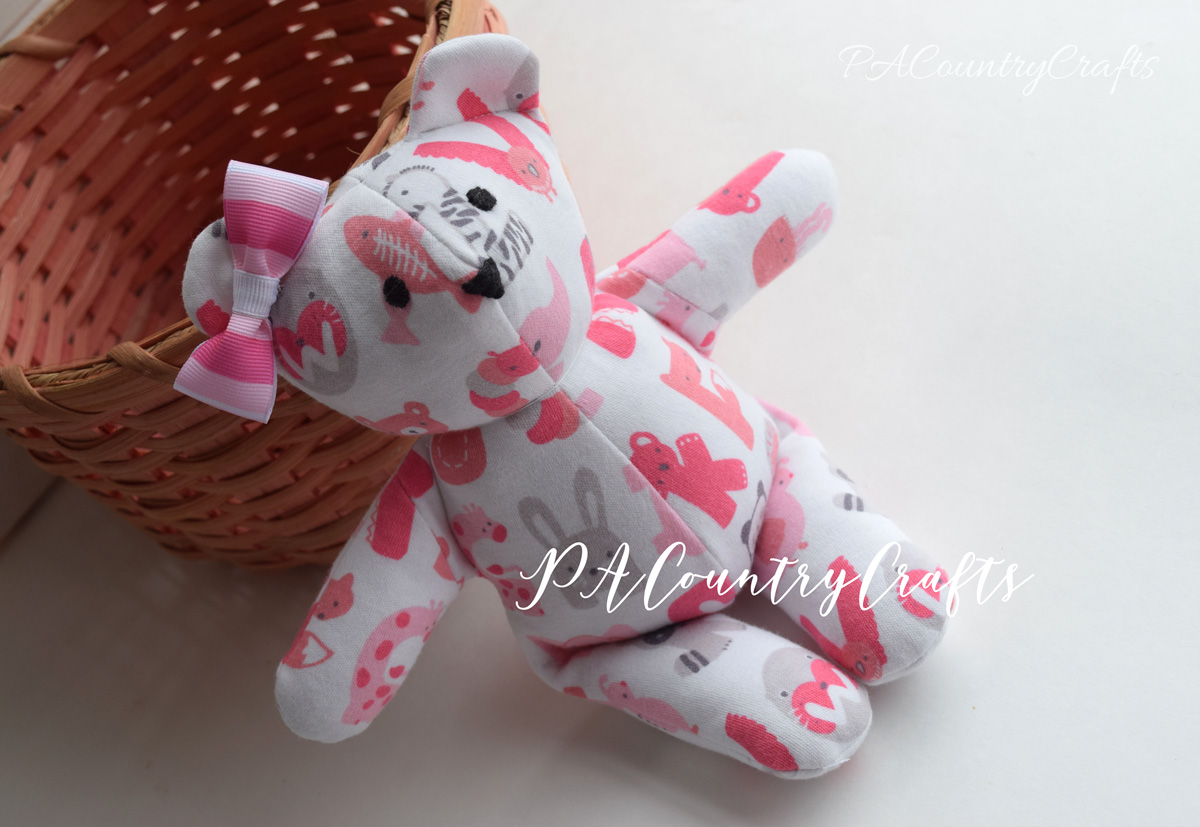
How to Make a No Sew Teddy Bear From a Baby Sleeper
I really tin't take credit for this thought. A friend asked me to make a stuffed carry from the outfit her infant wore habitation from the infirmary. She got the idea from Pinterest and it was a bad link so I can't source it.
And then, I had to come up with my own behave pattern. I used as few pieces as possible, but some actress stitching gives it more shape and allows it to sit down. It was based off of THIS one, but I changed it quite a bit.
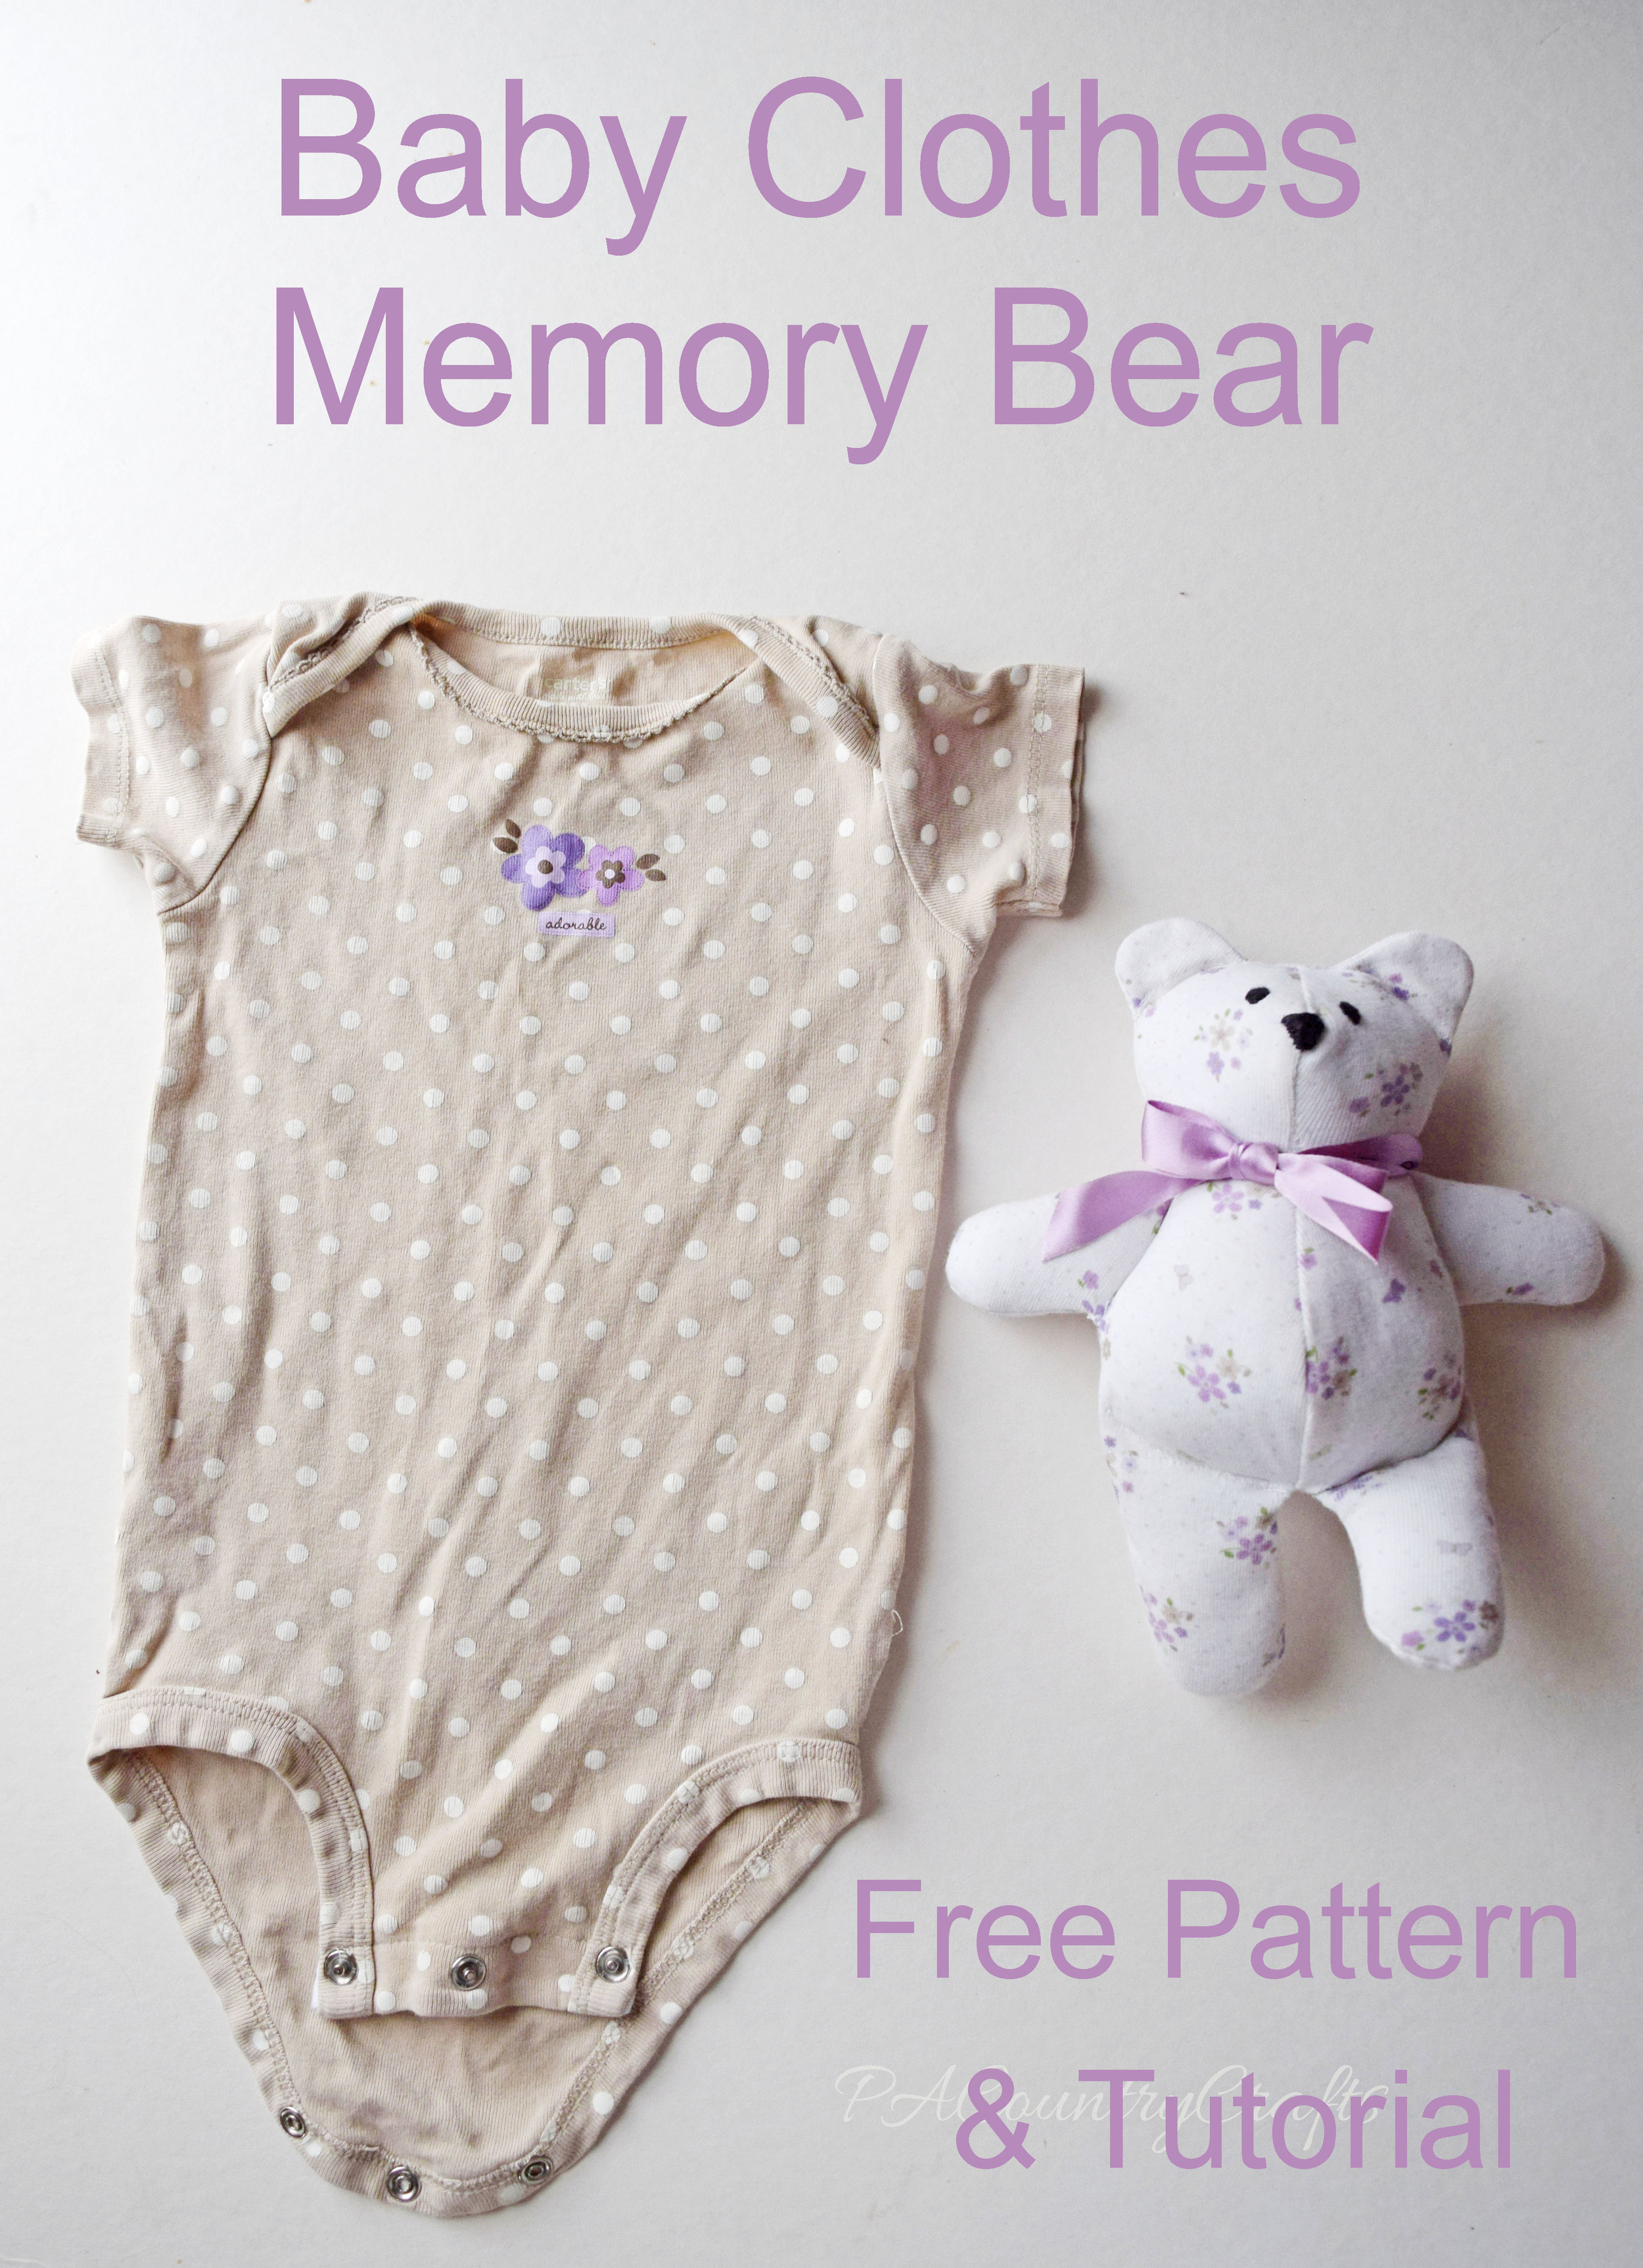
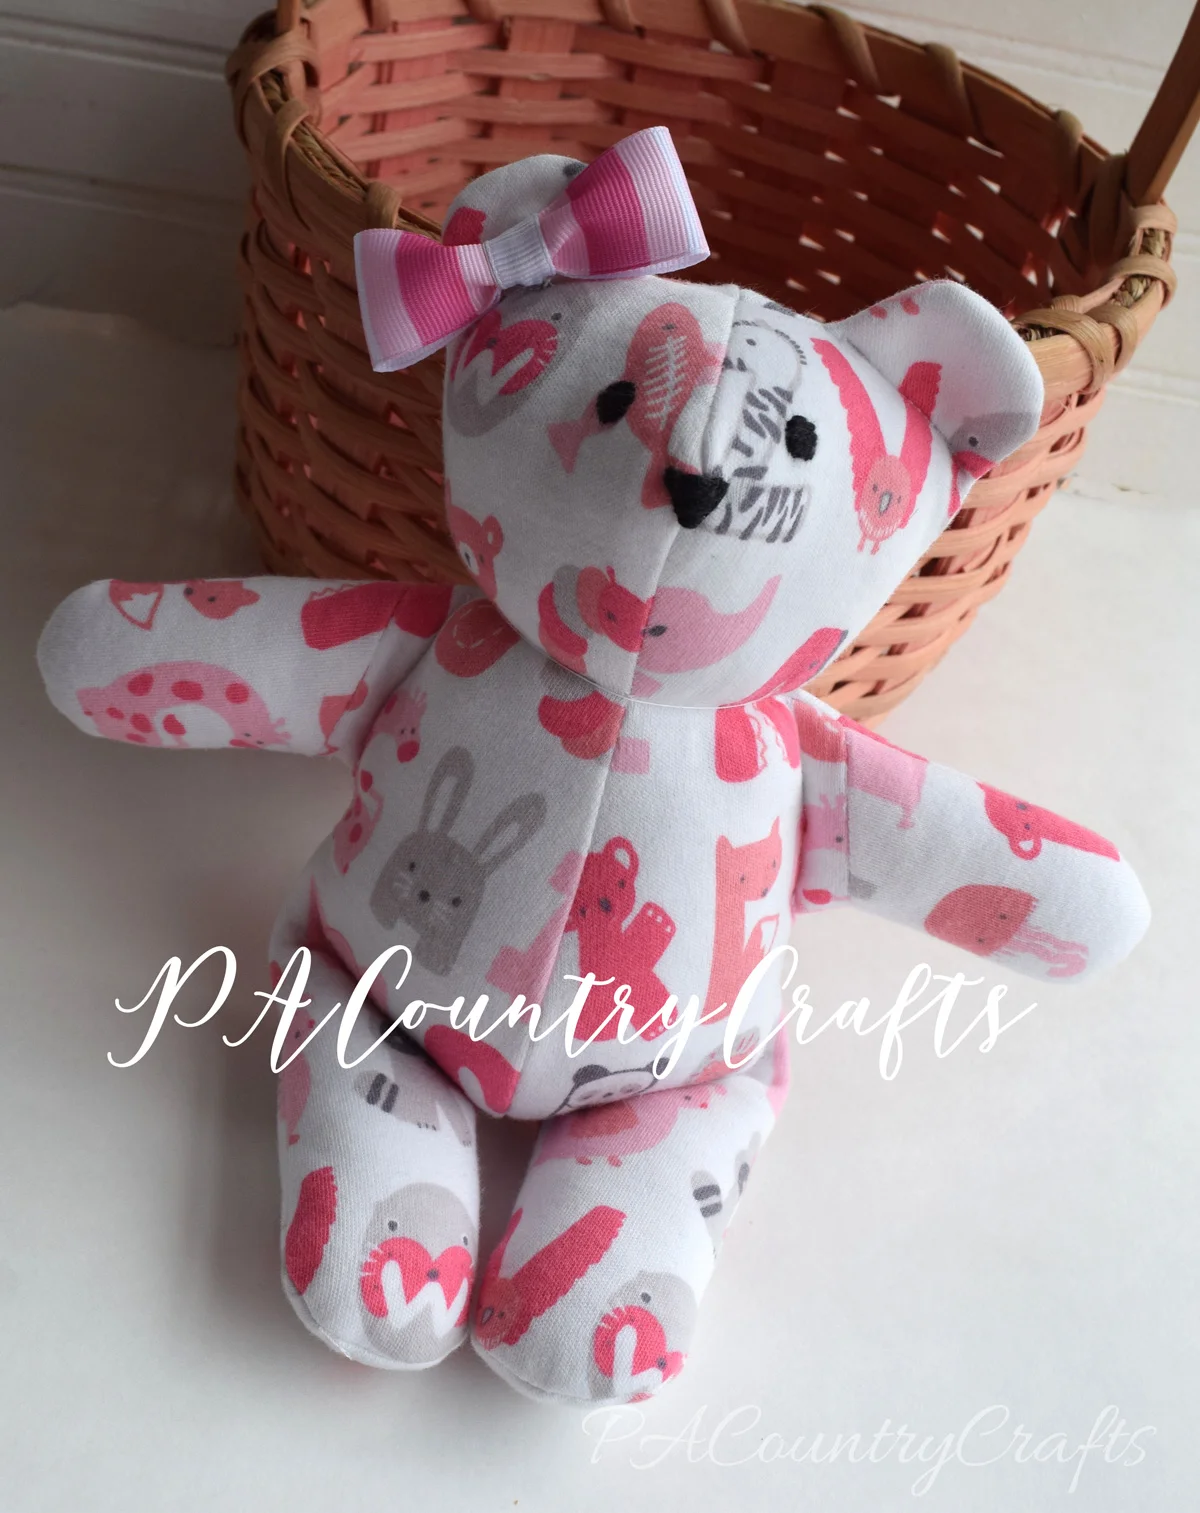
I made ane from one of our old onesies first, since I was terrified to cutting into that precious baby outfit. I was glad that I practiced beginning, simply I was happy with how both of them turned out! Here is hers:
And, because I felt like it, I took pictures of the process to make a tutorial to share! (They are a trivial dark, but it was winter.) Y'all volition need:
~wear detail to upcycle (or fabric)
~lightweight, iron-on interfacing
~scissors (paper and fabric!)
~thread
~ribbon (optional)
~fiberfill
~sewing car
~hand sewing needle
~bear pattern (available HERE)
***I have had a few people enquire about sizing. The finished deport measures about 8" loftier. These bears were fabricated with a newborn outfit and a ix month onesie.
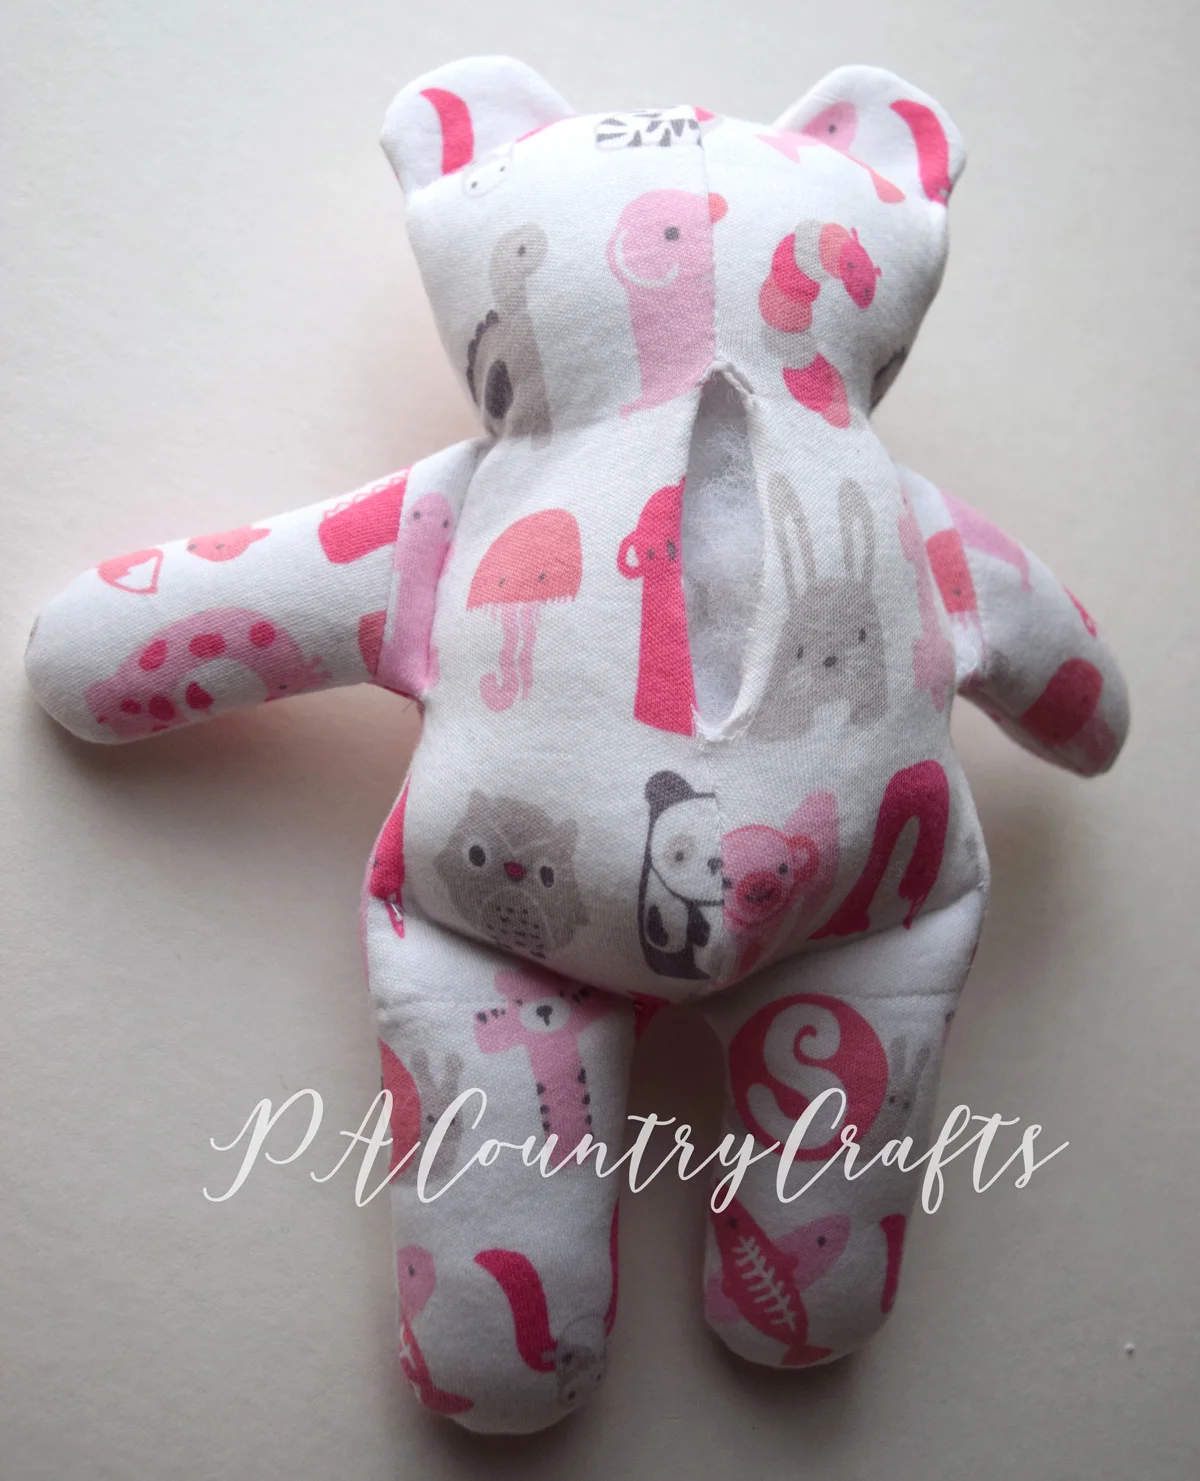
***Also, I have been getting some feedback on this design and then I feel compelled to warn y'all that the resulting bear using this pattern commonly looks more like the comport made with the purple onesie. It is a chubbier behave vs. a long deport. I honestly like the stubby deport better! In that location are many factors that tin can alter the shape of your carry, including the type of fabric used, how tight you pull the cervix in, how you lot print the pattern, and how it is stuffed. You tin fifty-fifty clasp it and smoosh it until takes on a dissimilar shape, too. This is a costless blueprint and I did my best. I took the pictures as I was making the pink bear so that is what is used for the tutorial pics showing the construction.
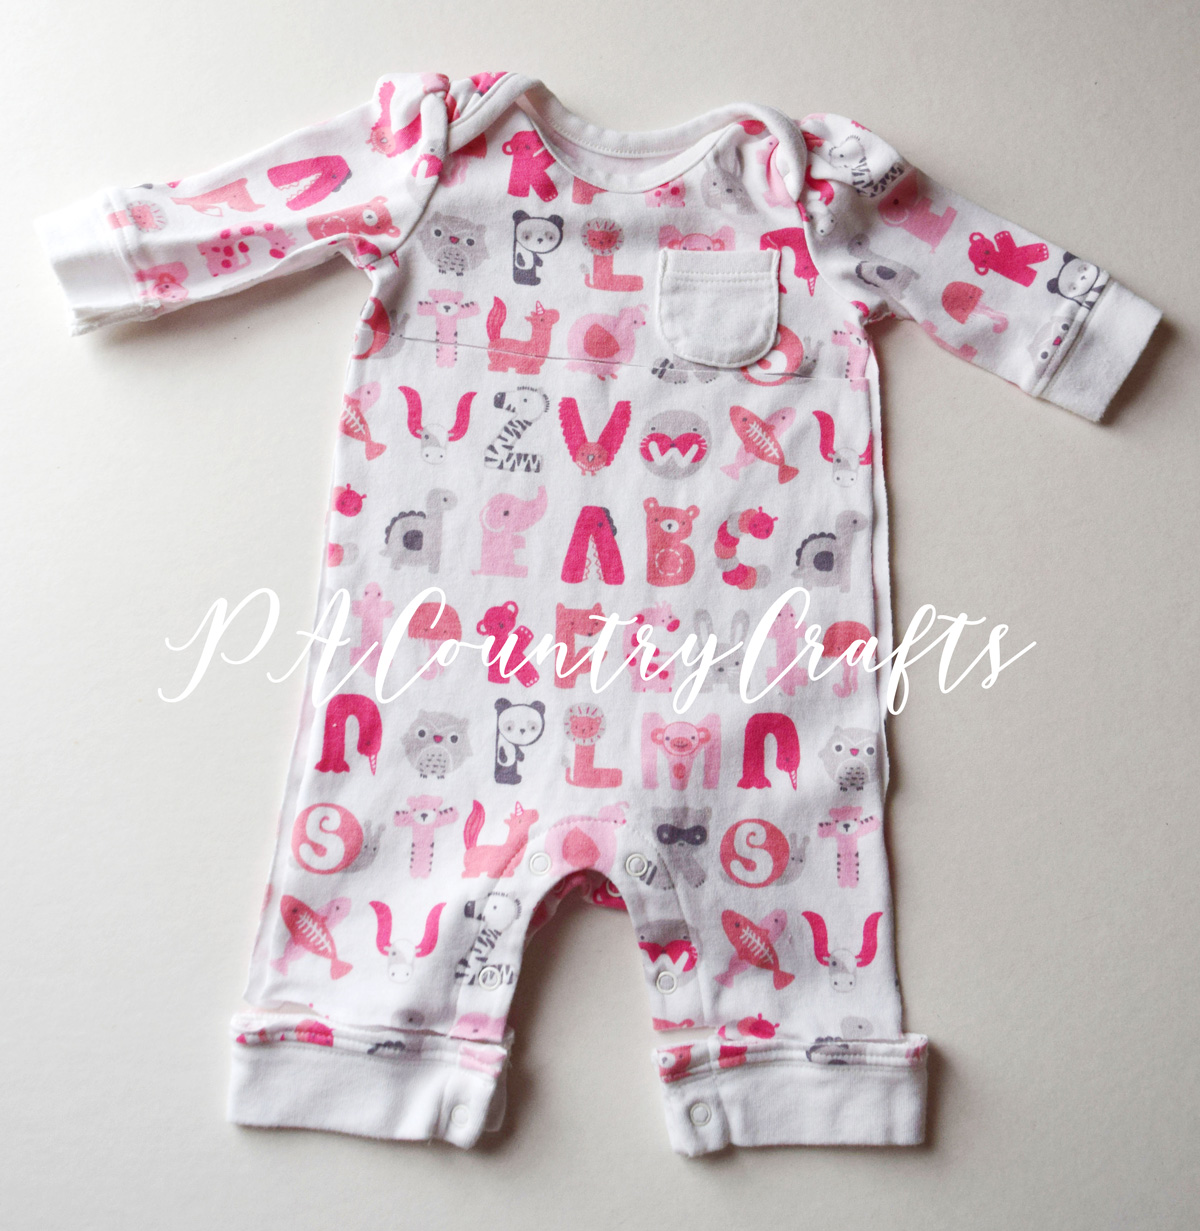
Beginning out with the wear item you wish to upcycle. Or, buy fabric. That works, too, but I haven't been doing much of that lately.
(Pats self on dorsum. Adept girl!)
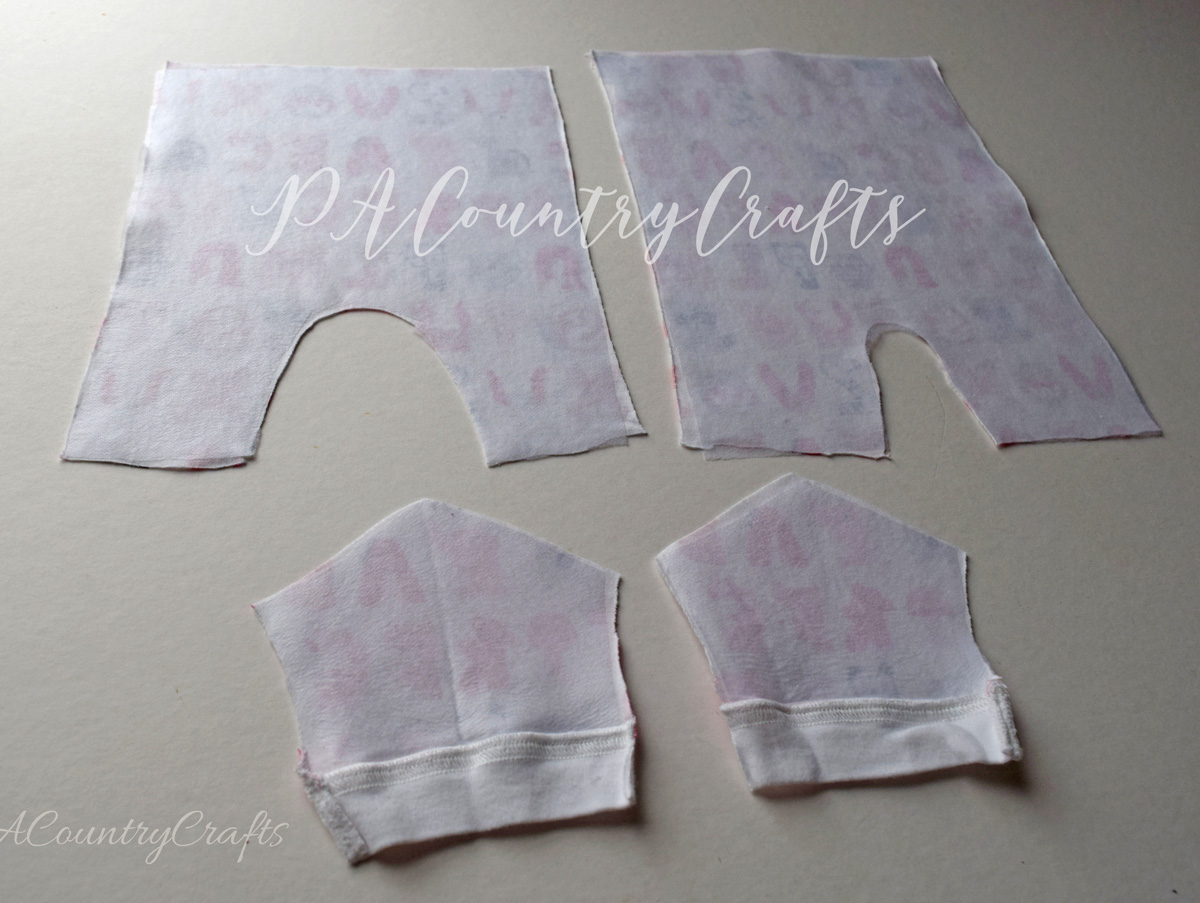
Then, you want to dismantle it. The best way to beginning is to snip out those side seams. I had to cut off the bottom cuffs to get to them, though.
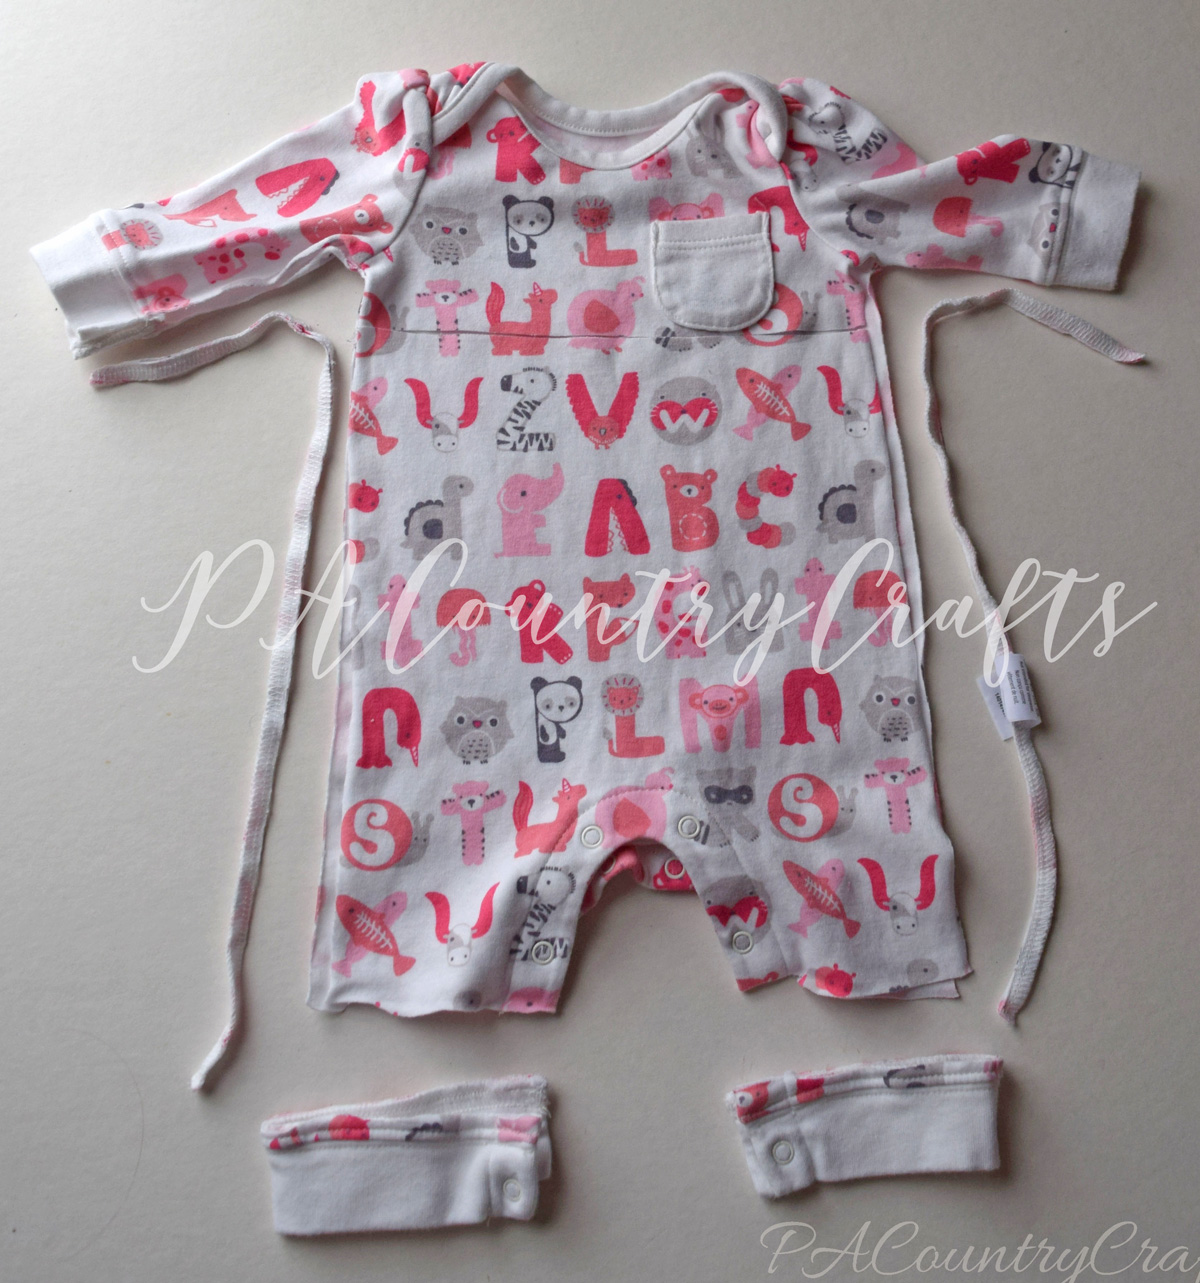
Effigy out how to fit the pattern on the available material. This may accept some thought- also be mindful of directional prints. With this particular outfit, I cutting the bottoms off just below the pocket and cut the arms off and so that I could make do and use them also. There wasn't enough fabric in just the primary body part because it is so tiny! For the onesie, which was a vi-9 month size, the design pieces fit on the main body part. If you need to make the arms separately, simply make them ane/ii" longer on the pattern piece and cut it apart i/4" from the body of the comport pattern.

At present, knit cloth likes to stretch. That is what makes information technology so comfy and easier to put on a squirmy baby. For this projection, though, you want it to exist non-stretchy. Interface the back of each slice with a lightweight, iron-on interfacing. It makes it much easier to piece of work with and the final product stuffs better.
Next, cut our your pattern pieces. If you lot are able to fit the design on without making separate arms- good for you! Information technology will be a little easier.
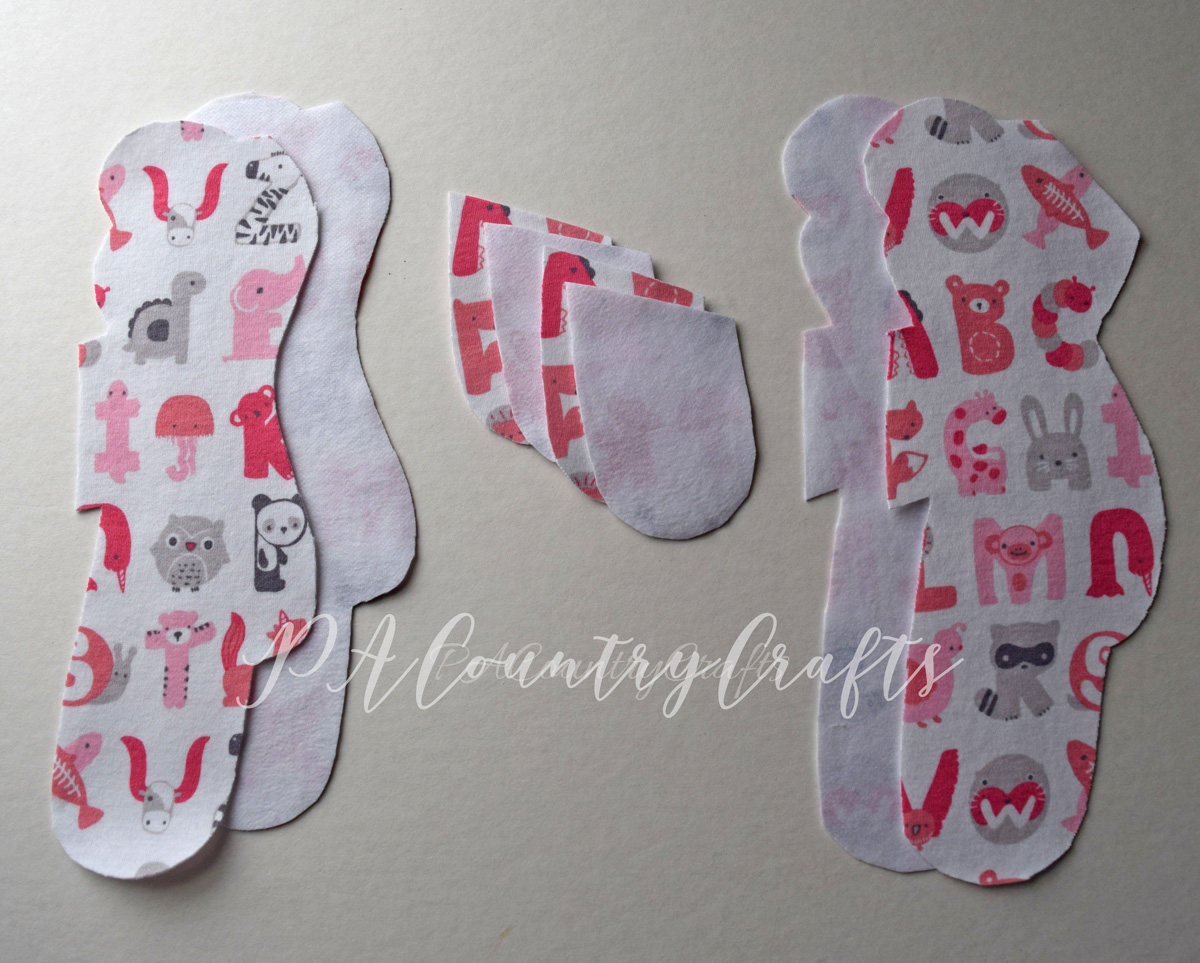
If you had to make do, similar me, sew on the arms.
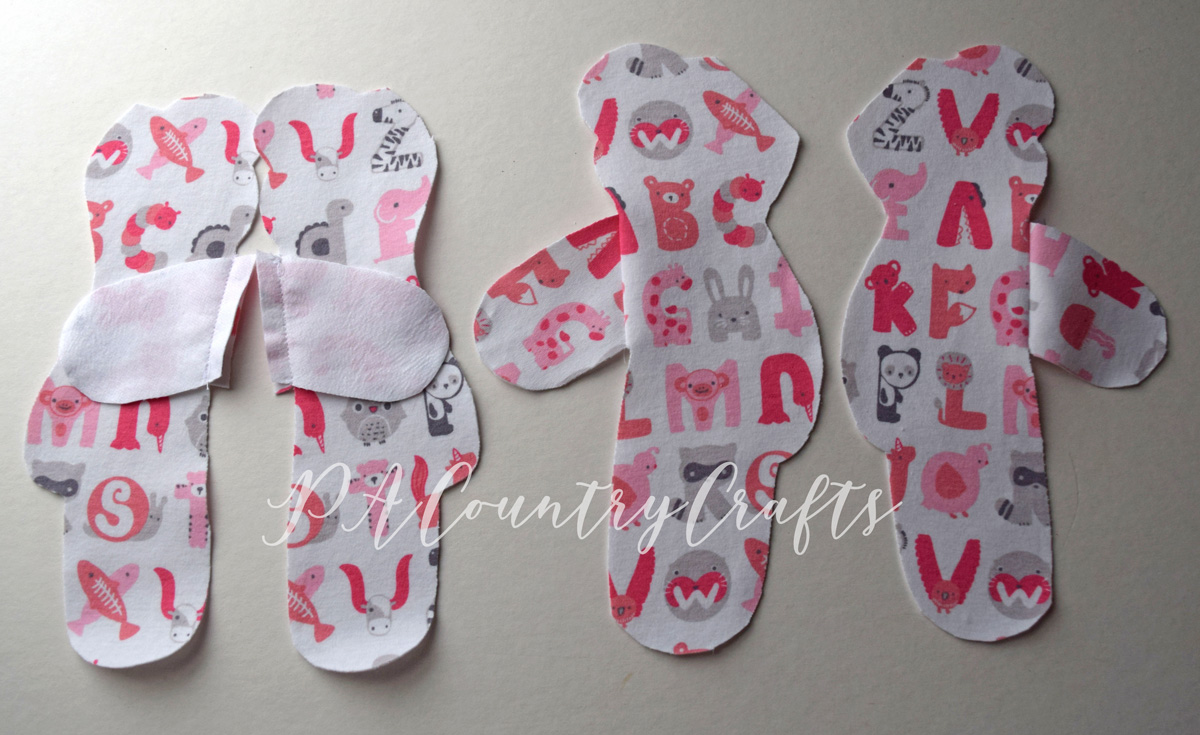
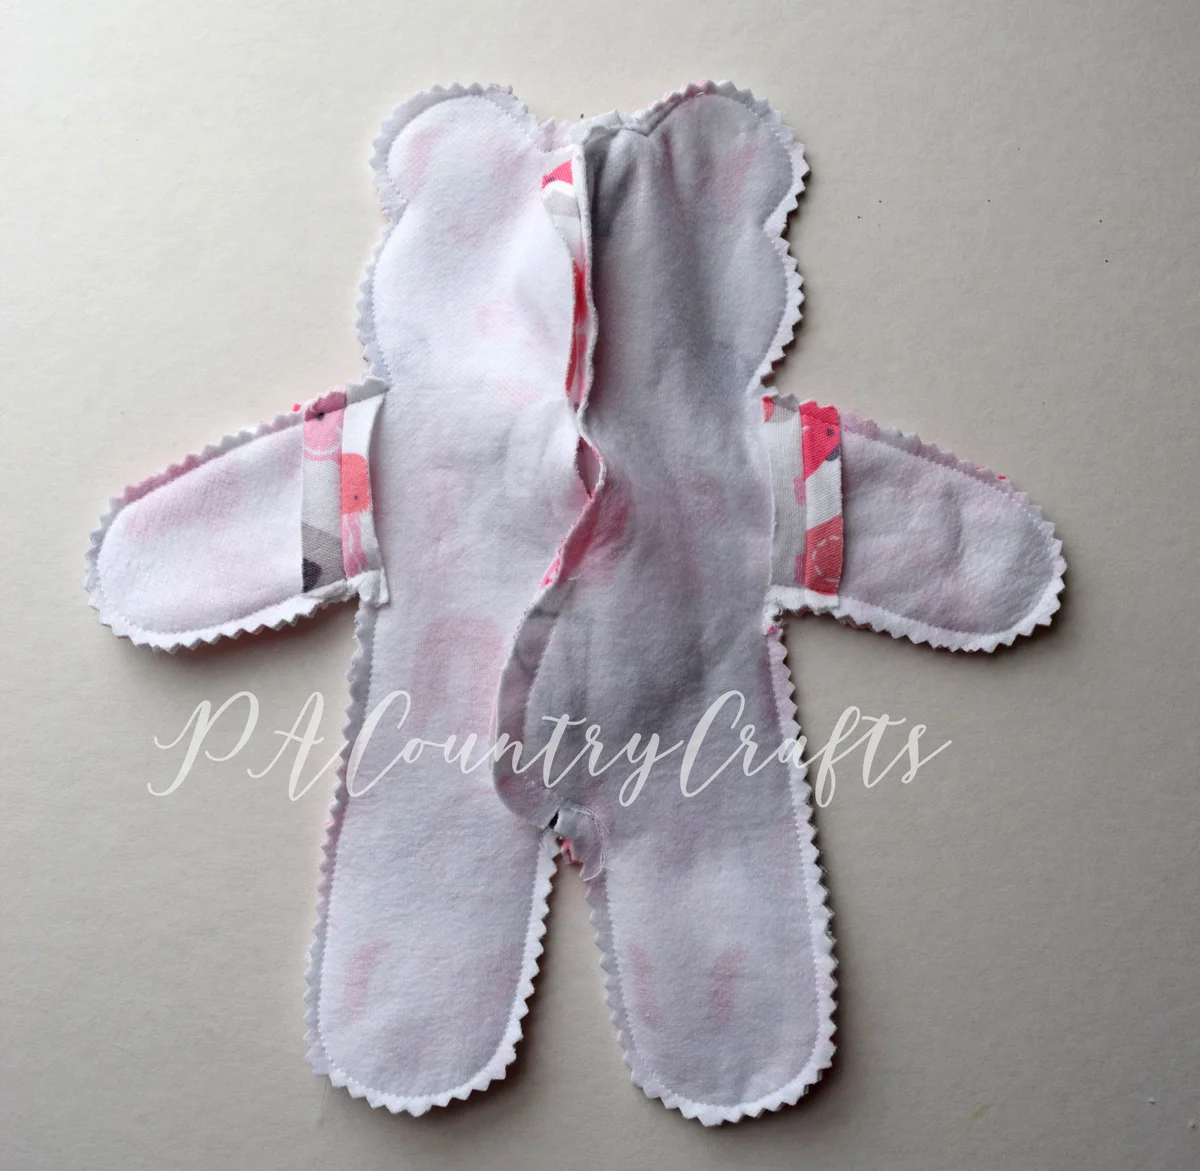
Use a 1/4" seam allowance throughout this projection. Sew the front pieces together from the forehead to the bottom of the abdomen. Sew the dorsum pieces together from the back of the caput to the bottom of the bum, but leave an opening in the back. There are dots marked on the pattern pieces- simply run up between those.
Notation- I tweaked the pattern as I went, so yours volition look a little different in shape than mine do hither. Just follow the design if you don't want a pointy tail poking out or an oddly shaped caput.
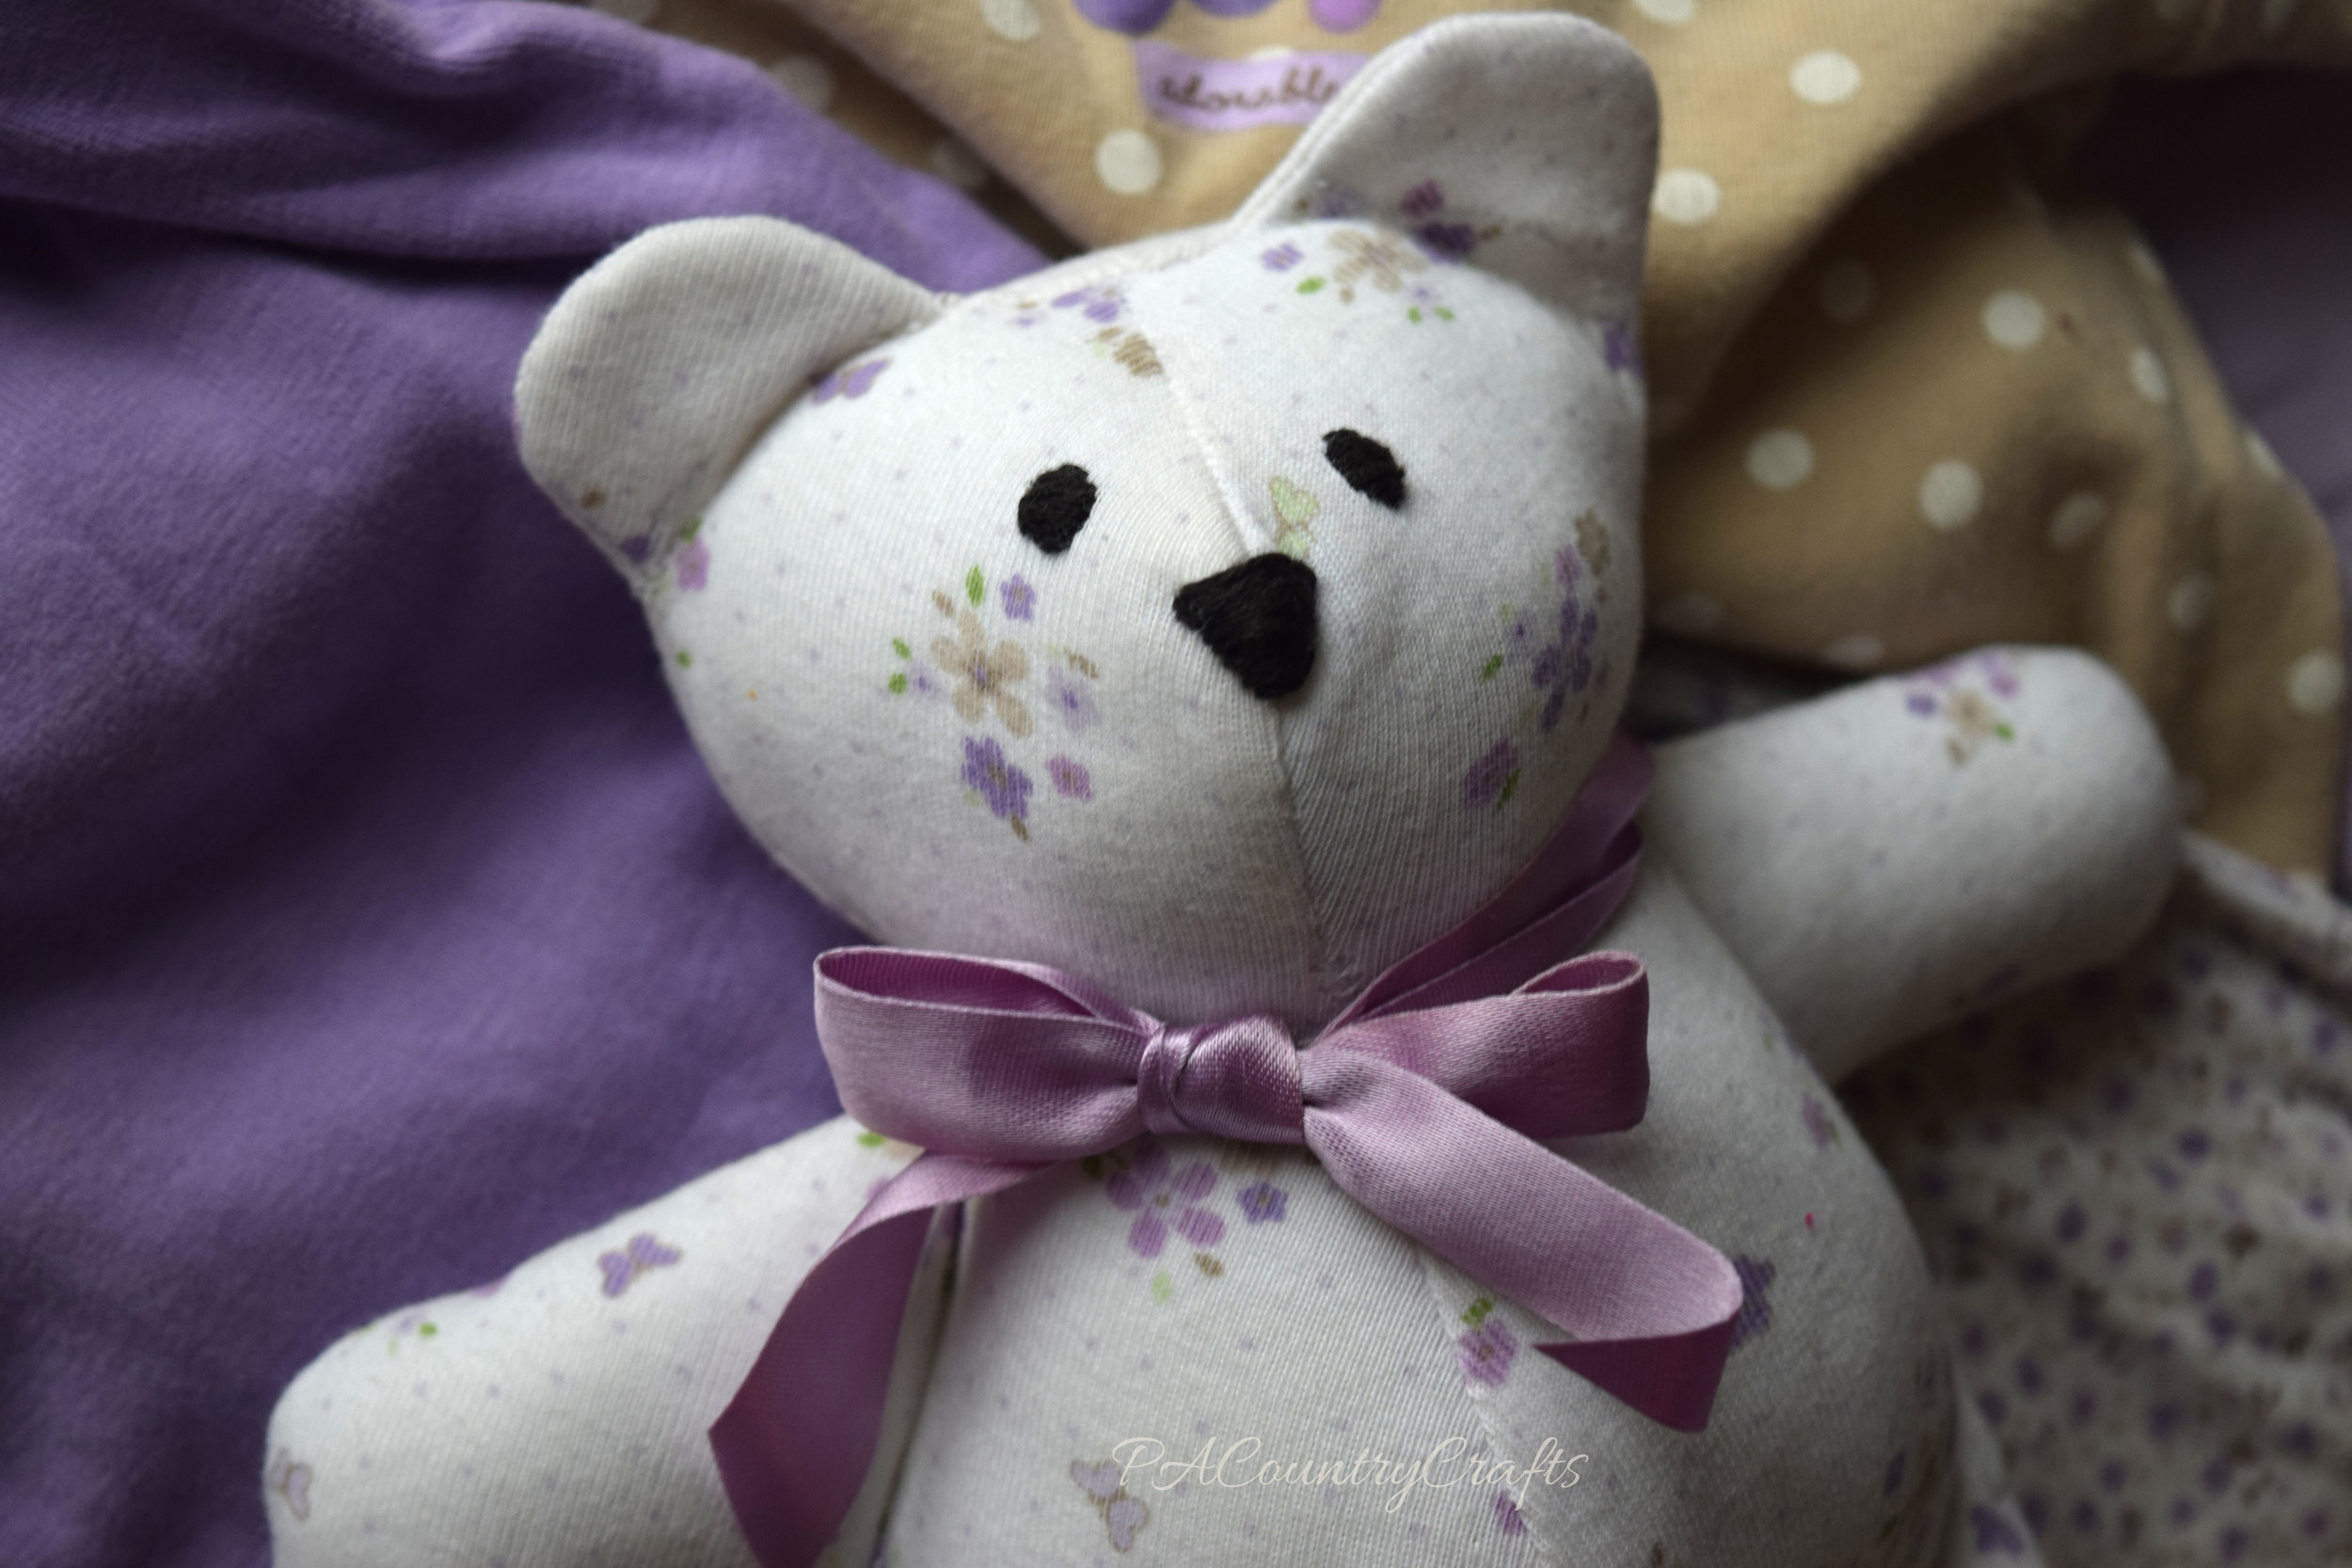
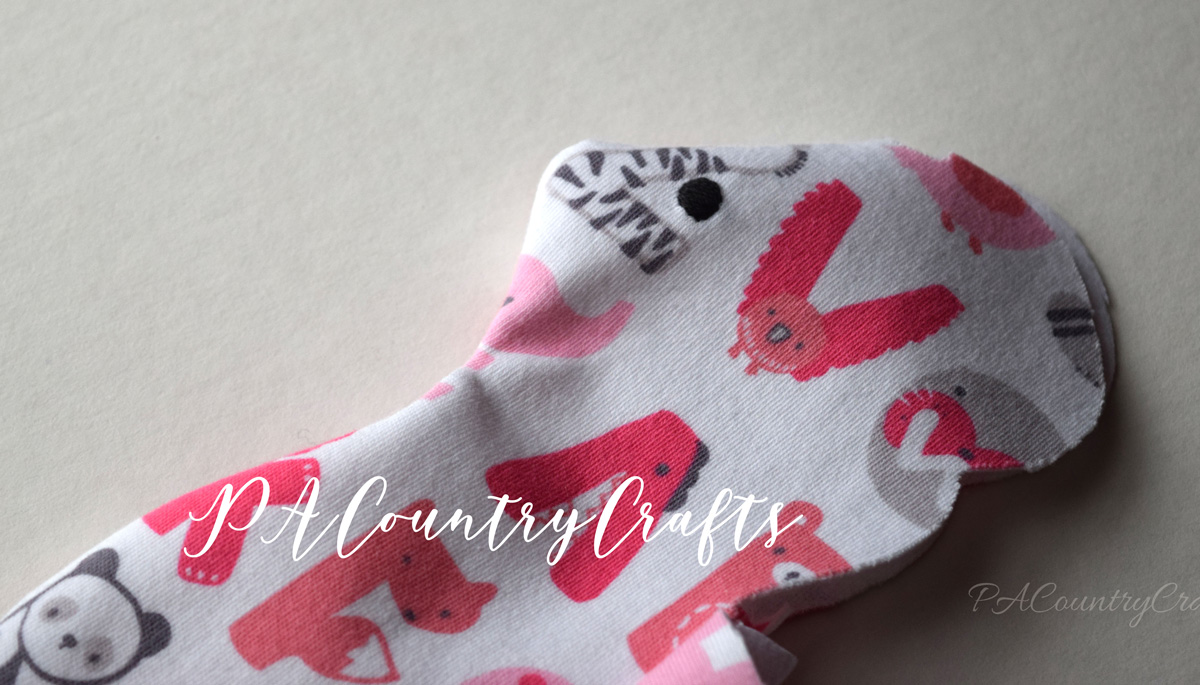
Now, you want to embroider the eyes on. You could use button optics or other cute things, only I went with black embroidery floss and satin stitched the eyes. Information technology is not a choking hazard this way, simply this entire projection is at your ain risk/supervise your child. I am not responsible in any style. Legal disclaimer. All of those kids toy manufacturing regulations scare me. You can do the nose now, too, if y'all prefer, just I liked being able to shape it a picayune more later it was stuffed.
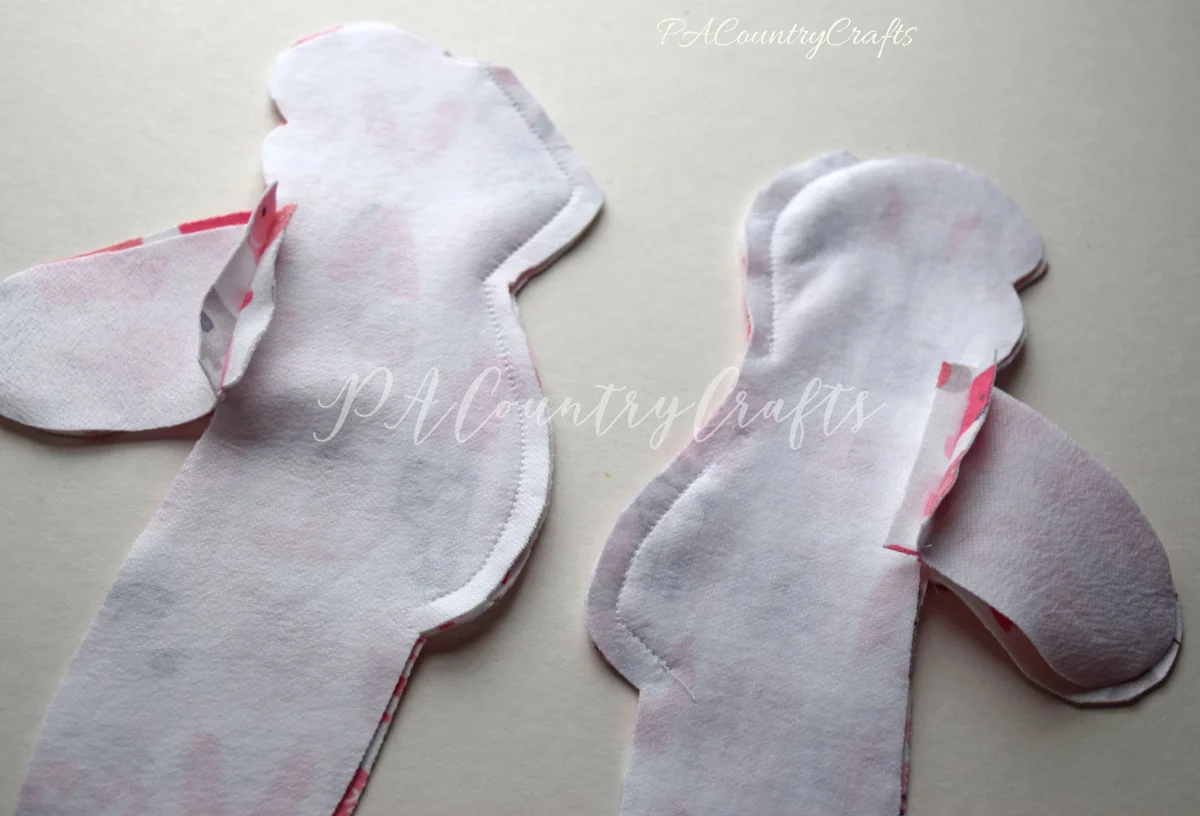
Sew together the front and back pieces together. You lot tin clip the corners and curves, merely I just went effectually the whole thing with pinking shears because it was easier.
Flip it right side out and sew the ears. Just stitch a straight line from the exterior to the within of the ear. Don't try to curve information technology- trust me and my excessive seam ripping. Sew a straight line. A shorter stitch length would be good, as well.

Stuff the arms and legs. Employ small amounts of fiberfill and stuff evenly. Sew lines on those as shown on the pattern piece. Again, this took a lot of tweaking and seam ripping on the first bear to get the shape just right, and so follow the pattern!

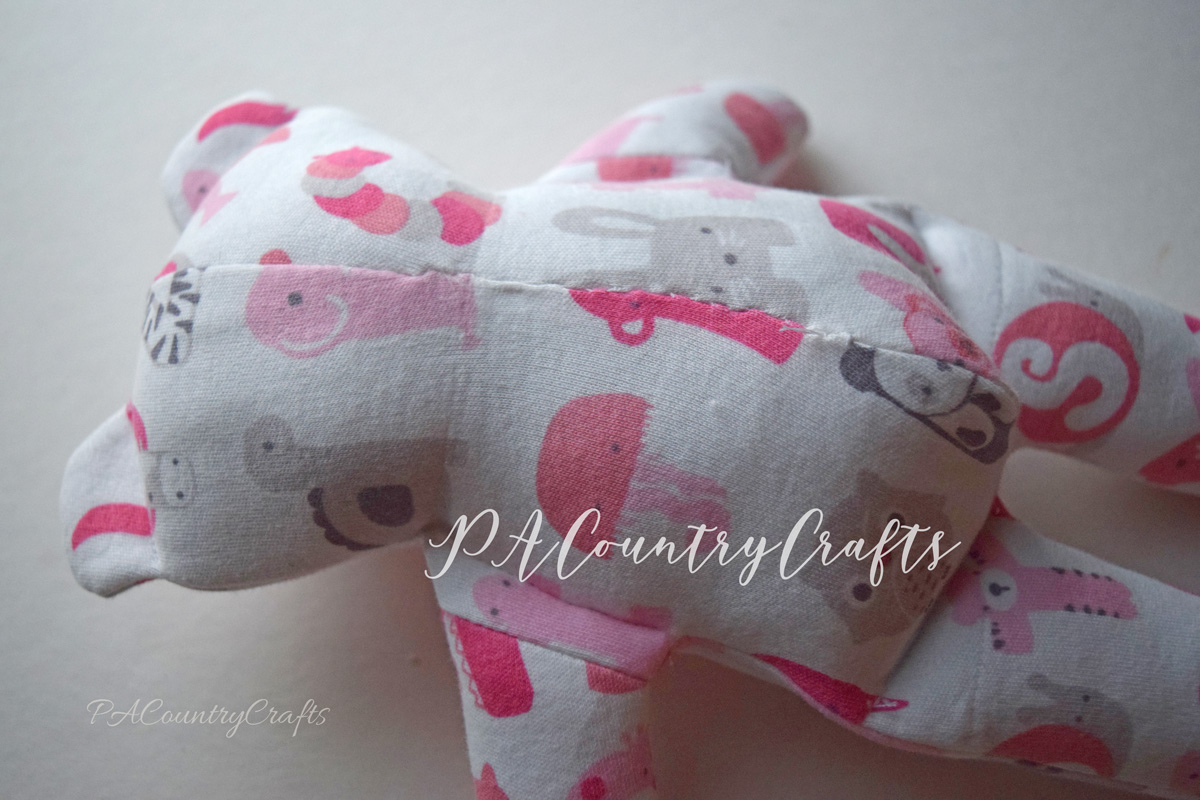
Stuff the rest of the conduct...
Stitch it airtight past paw with a ladder stitch. Just google it if you don't know how. This isn't my best work, but it is usually invisible.
Concluding touches...
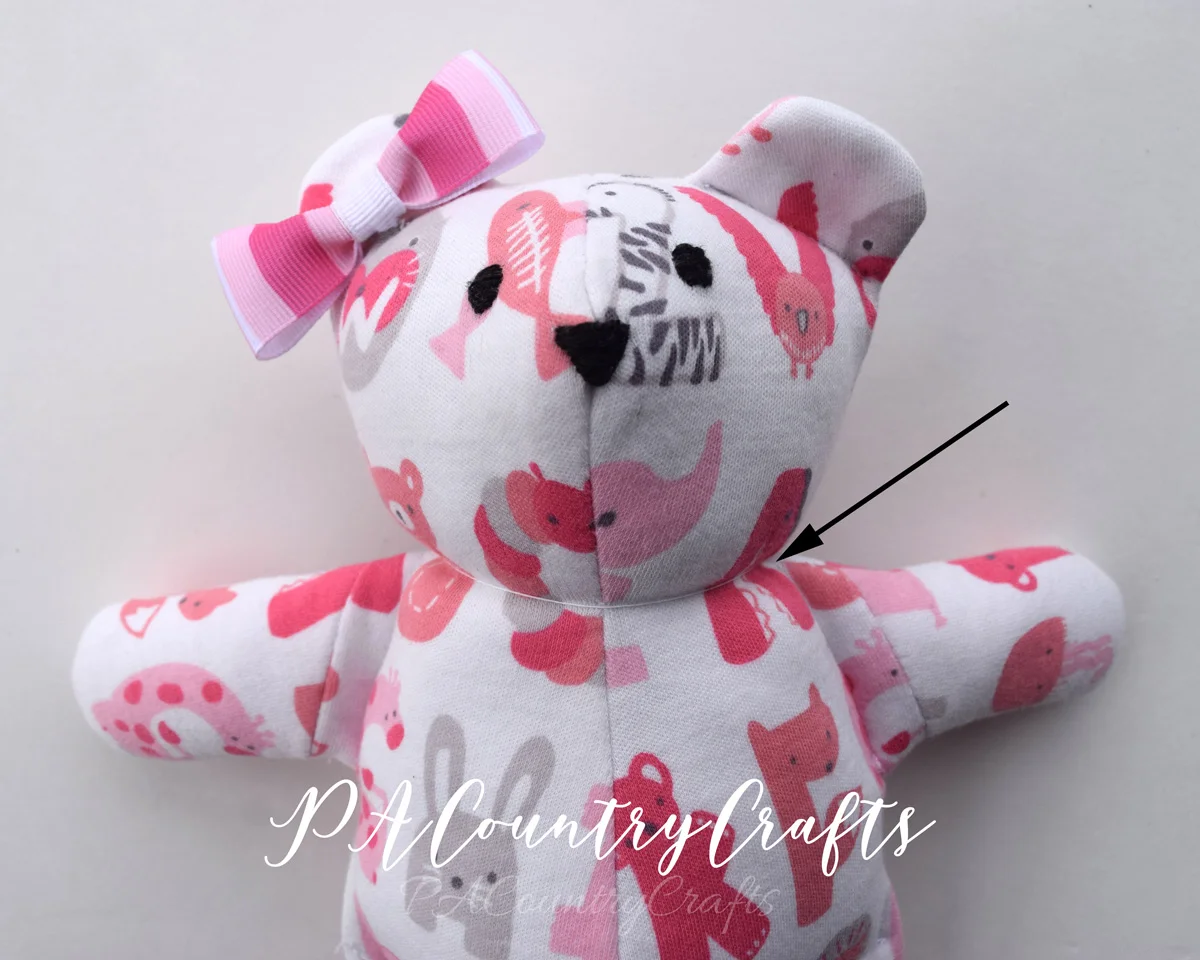
~Wrap some heavy thread around the neck tightly to pull it in and knot it well. Constrict the loose thread ends into the bear. *****THIS Footstep MAKES A REALLY BIG DIFFERENCE IN THE SHAPE OF THE Bear!!!!!*****
~Embroider a nose on the bear. Information technology works improve to do it at the cease because you tin can shape information technology a niggling scrap. I stitched a triangle and and so satin stitched over that until I got the look I wanted. ~Add together a bow... if you want. This ane I added one on the ear- information technology is sewn downward actually well, so I don't think she will ever be able to pull that off. The other bear has a ribbon bow around the neck instead. I like that, likewise.
Then, considering I simply couldn't let that piddling pocket go, I fabricated a tiny niggling blanket for the comport.
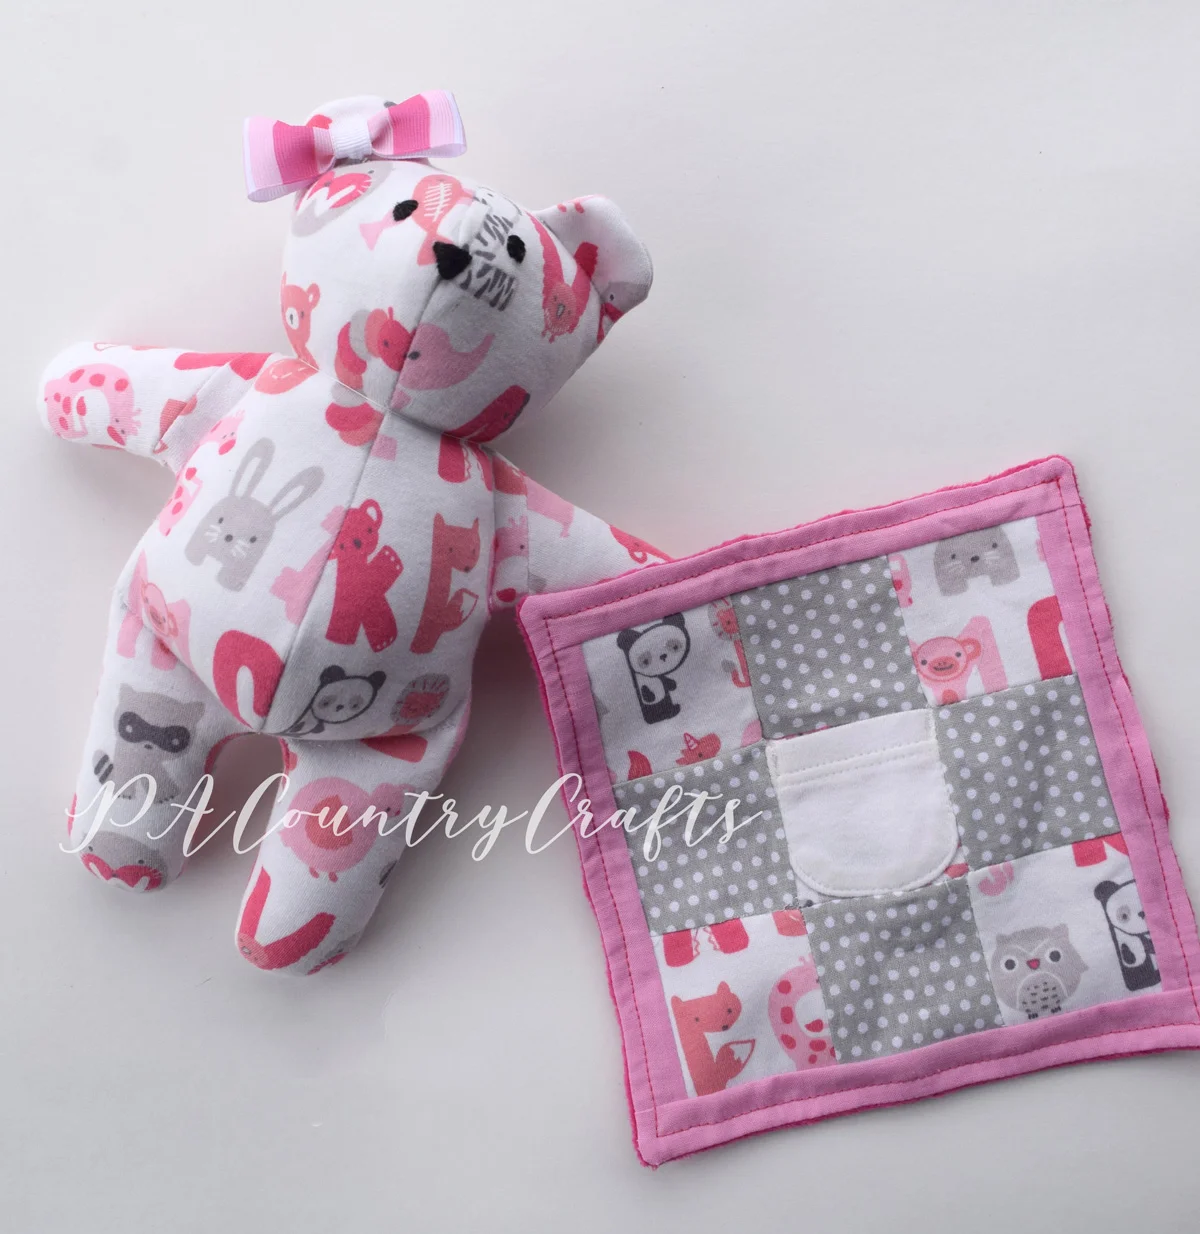
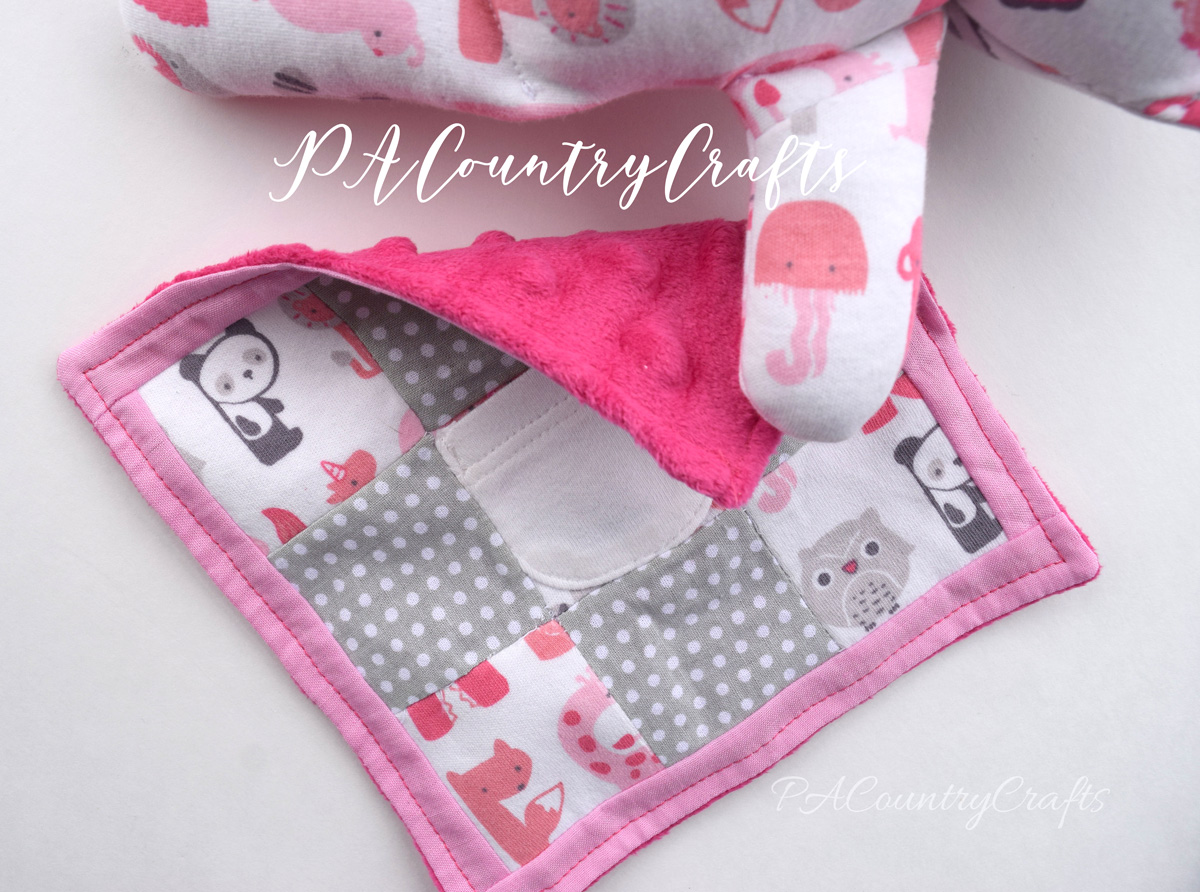
I was actually low on fabric at this point, so I mixed in some other cotton scraps. The dorsum is some scrap minky from a taggy blanket for last year's Performance Christmas Child shoebox. It has one/viii" seam allowances, so information technology was really finicky to brand. No tutorial for this office... just pictures.
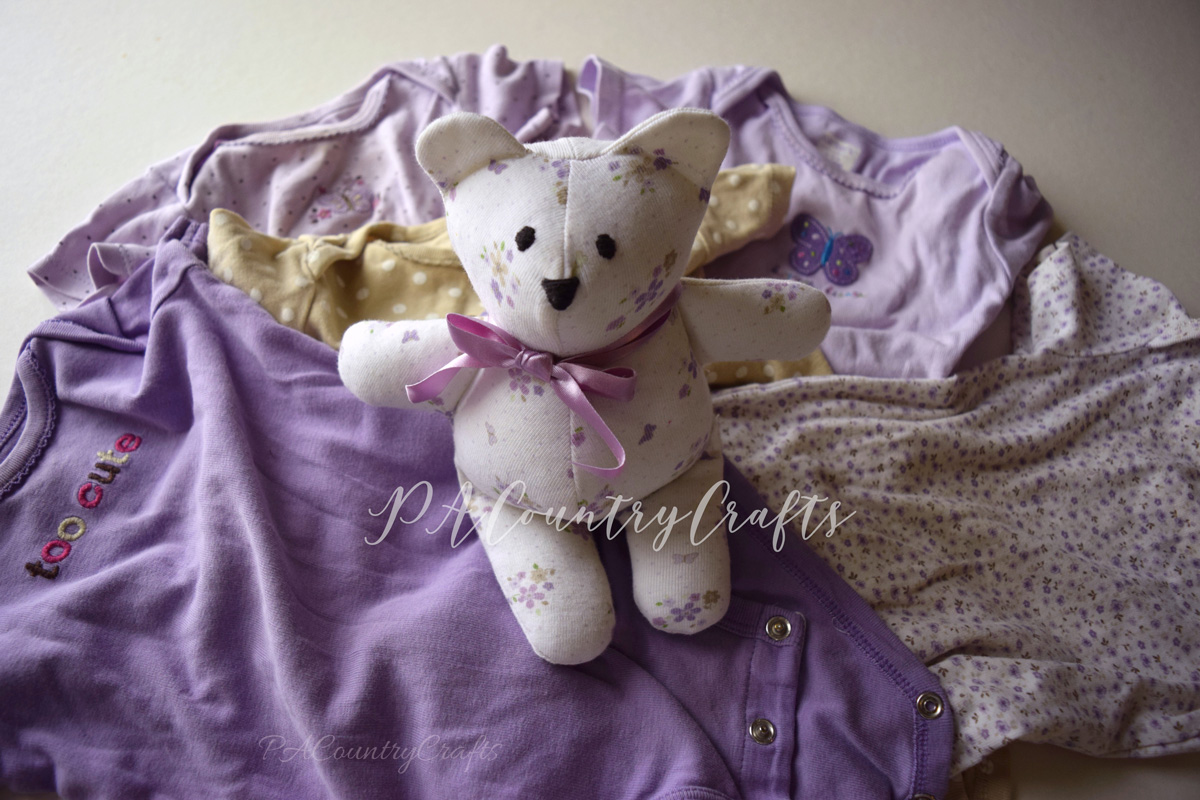
I dear this thought and wish that I had washed it before with my kids! I yet accept some items saved in storage, so I might try to do something like this when I become a grandmother one day. I miss babies, then the thought of being old enough to be a grandma doesn't even make me deplorable now.
Here is the pattern link again if yous desire to download information technology...

Hither is a pinnable image if you want to save information technology for subsequently...

Equally always, this pattern may not exist copied and sold. It is for your personal, non-commercial utilise. I would Honey to see pictures of annihilation you brand with this, though! Y'all can send them to me via facebook or e-mail them to pacountrycrafts at gmail dot com.
Yous can find more than of my tutorials HERE! This is just a sampling of some infant-related ones...
How to Make a No Sew Teddy Bear From a Baby Sleeper
Source: https://pacountrycrafts.com/blog/baby-clothes-memory-bear-pattern-and-tutorial
0 Response to "How to Make a No Sew Teddy Bear From a Baby Sleeper"
Post a Comment